Showcasing your spray tan results through before-and-after photos is a powerful way to highlight your shades and techniques on your website and social media. These photos not only demonstrate your expertise but also help potential clients visualize the results they can expect. Here's how to capture stunning before-and-after shots that truly reflect your work.
1. Choose A Solid Background
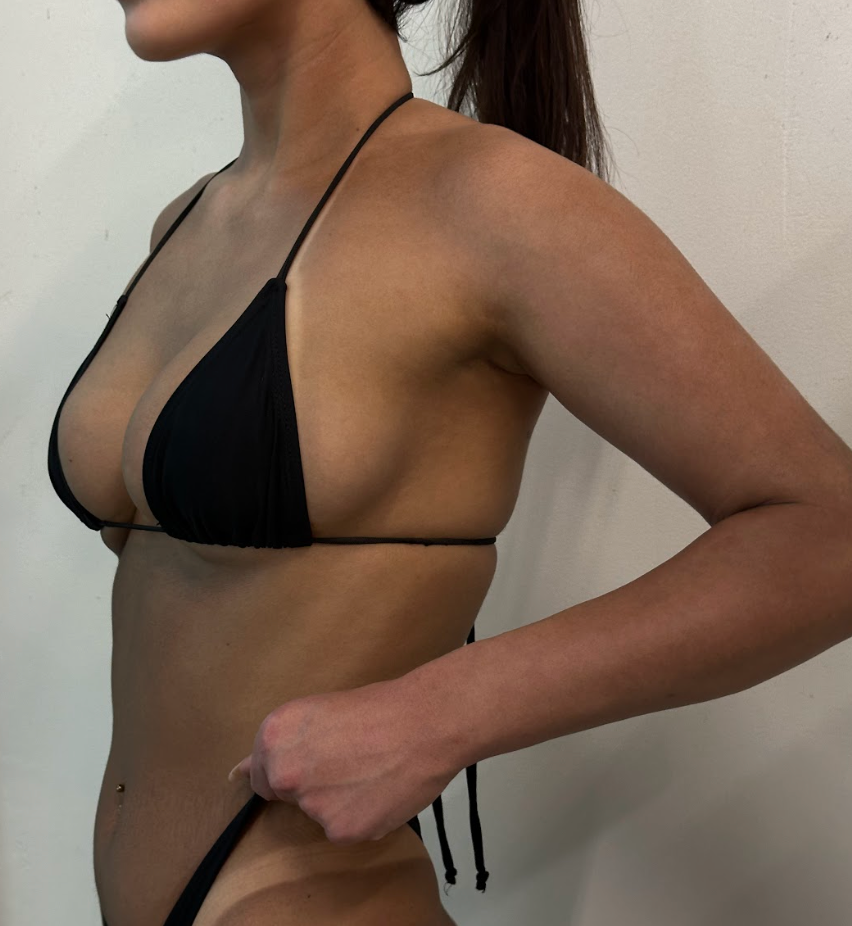
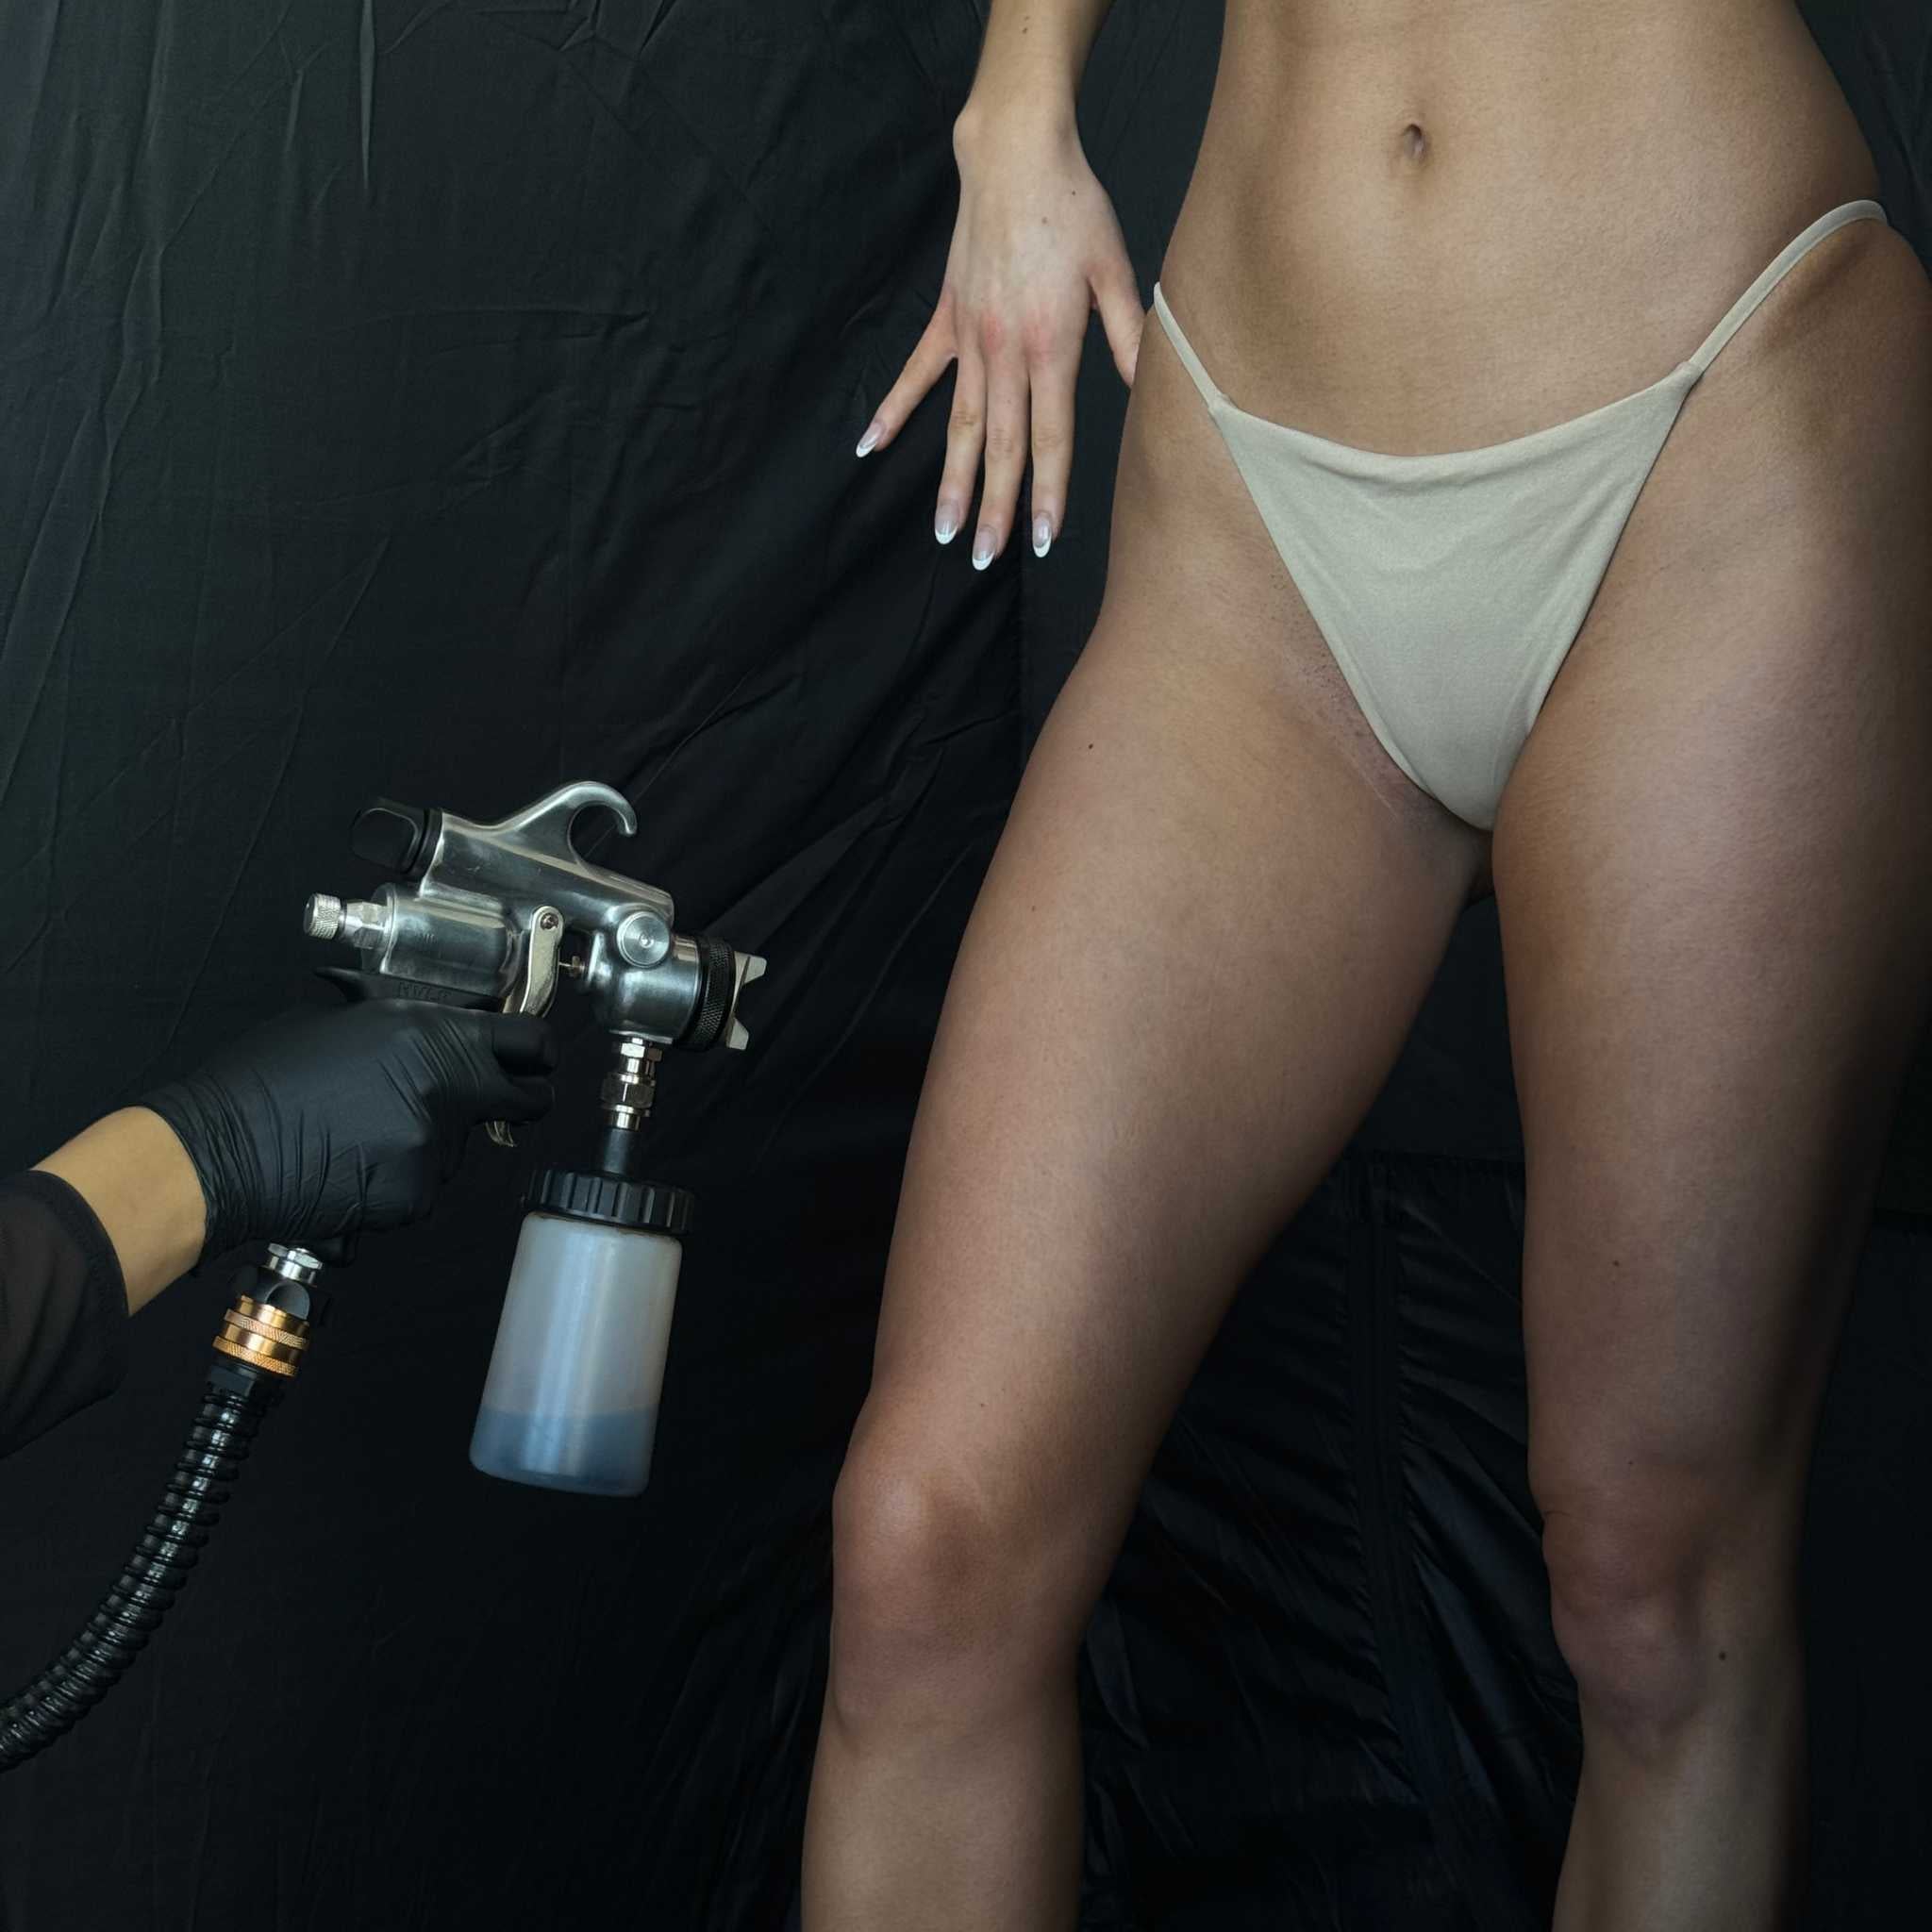
A neutral or solid-colored background ensures that all attention is on your client and the spray tan results. Busy or distracting backdrops can take away from the focus of the tan. A plain white, black, or light-colored wall works perfectly to make the color of the tan stand out.
2. Perfect Lighting Is Key
Natural lighting is ideal, but if that’s not available, use soft, even lighting to avoid harsh shadows. Make sure the lighting is the same for both the before and after shots to accurately reflect the tan’s transformation. Ring lights or studio lights work well for consistent results.
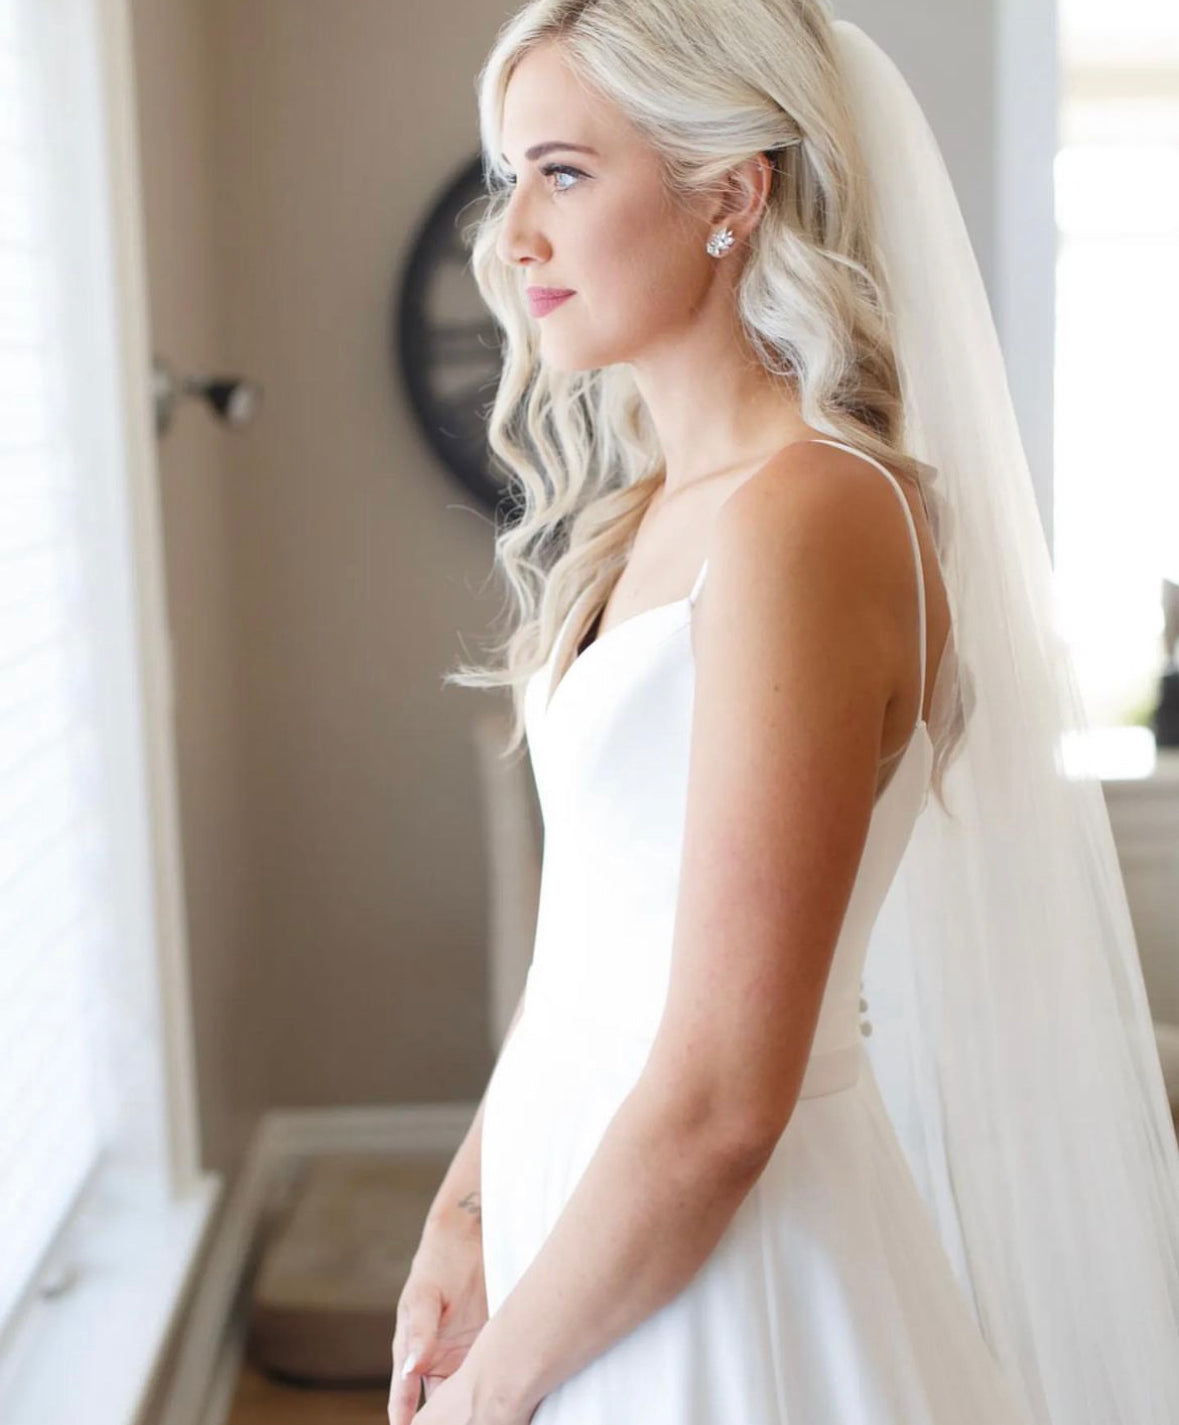
3. Outfit Consistency
For consistency, have your client wear the same outfit in both the before and after shots. Whether it’s their bathing suit or a NUDA robe, let them choose what makes them comfortable. This way, the only change visible in the photos is the beautiful tan.
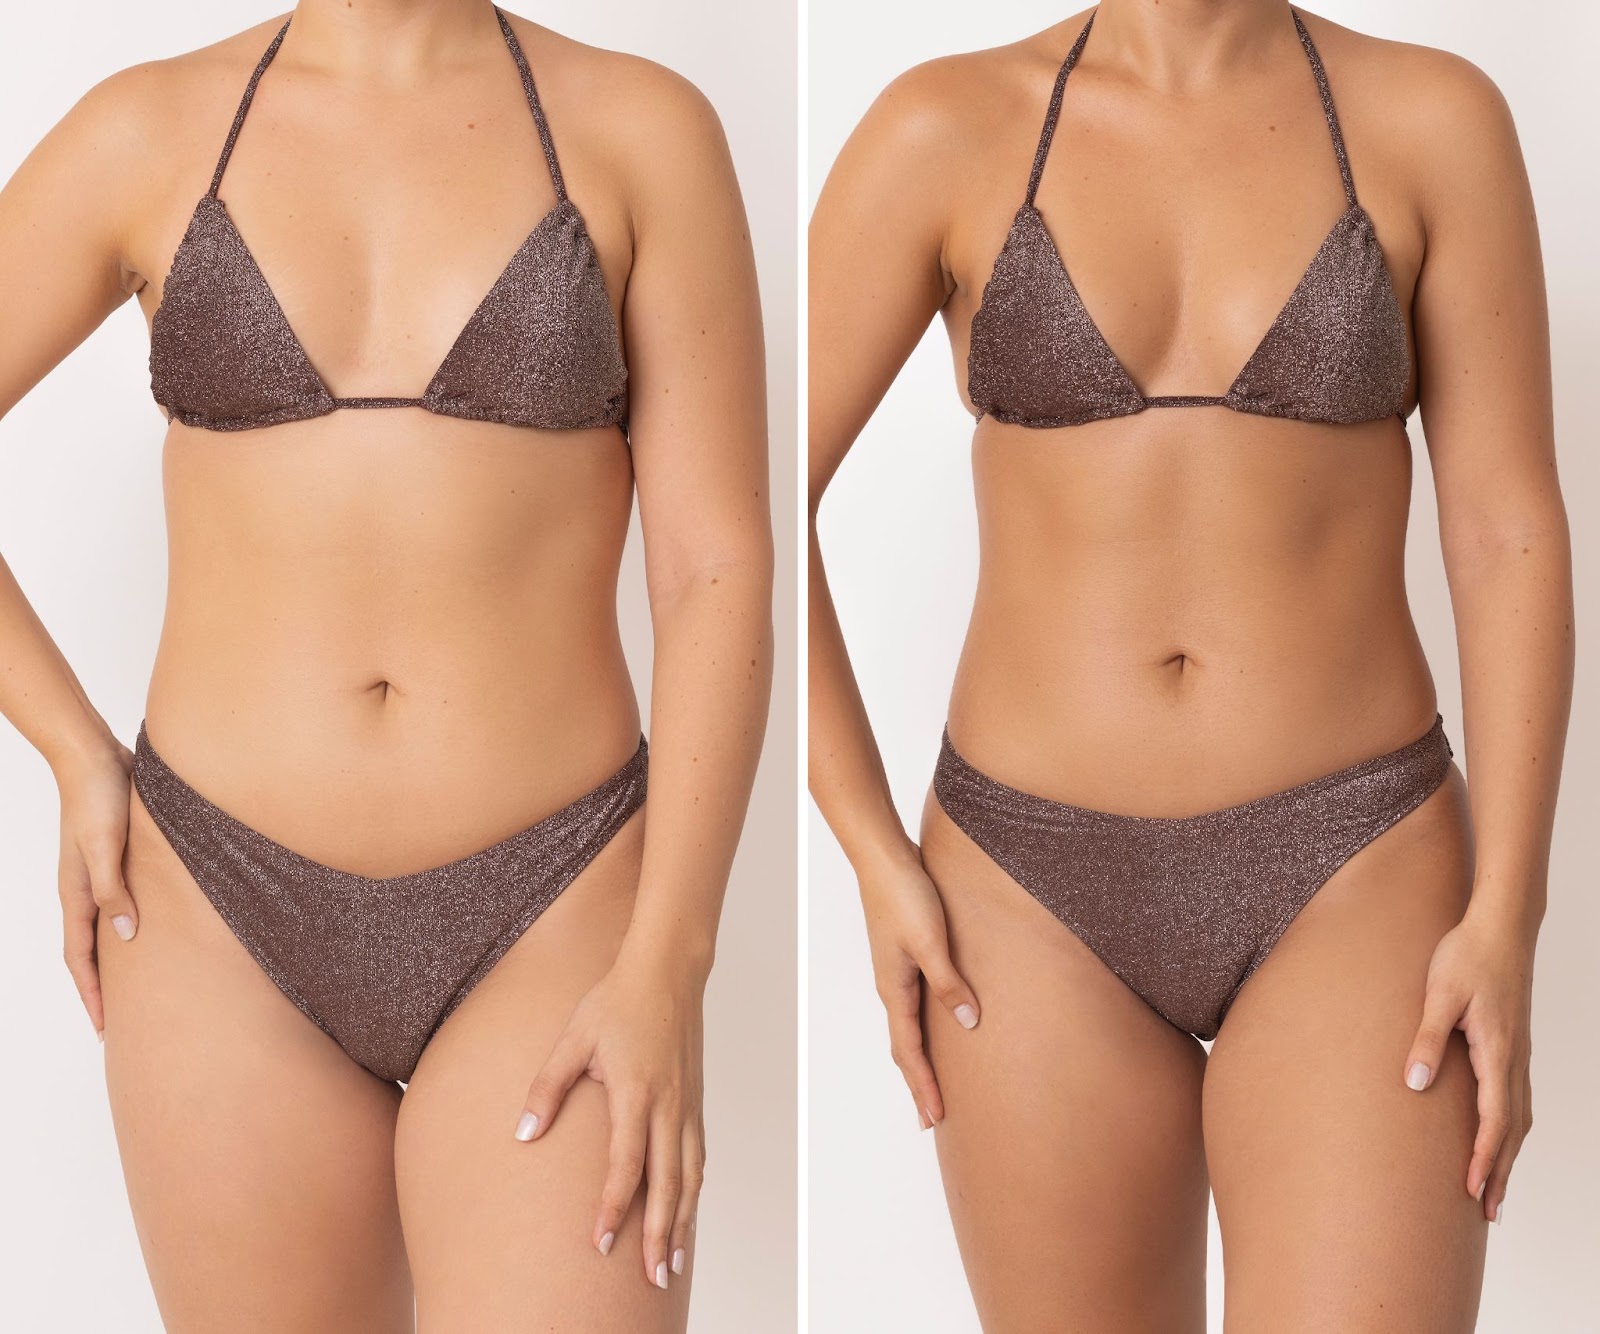
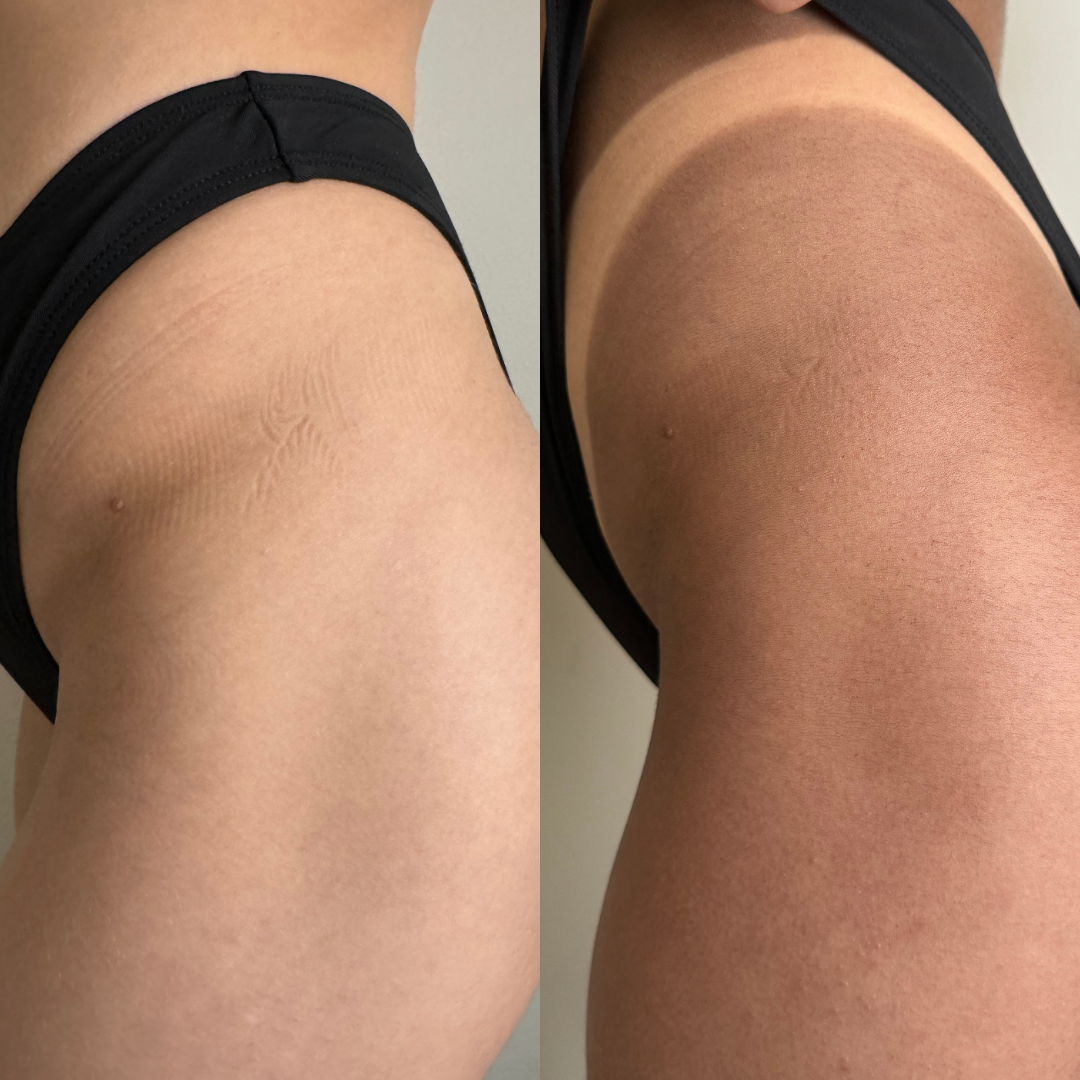
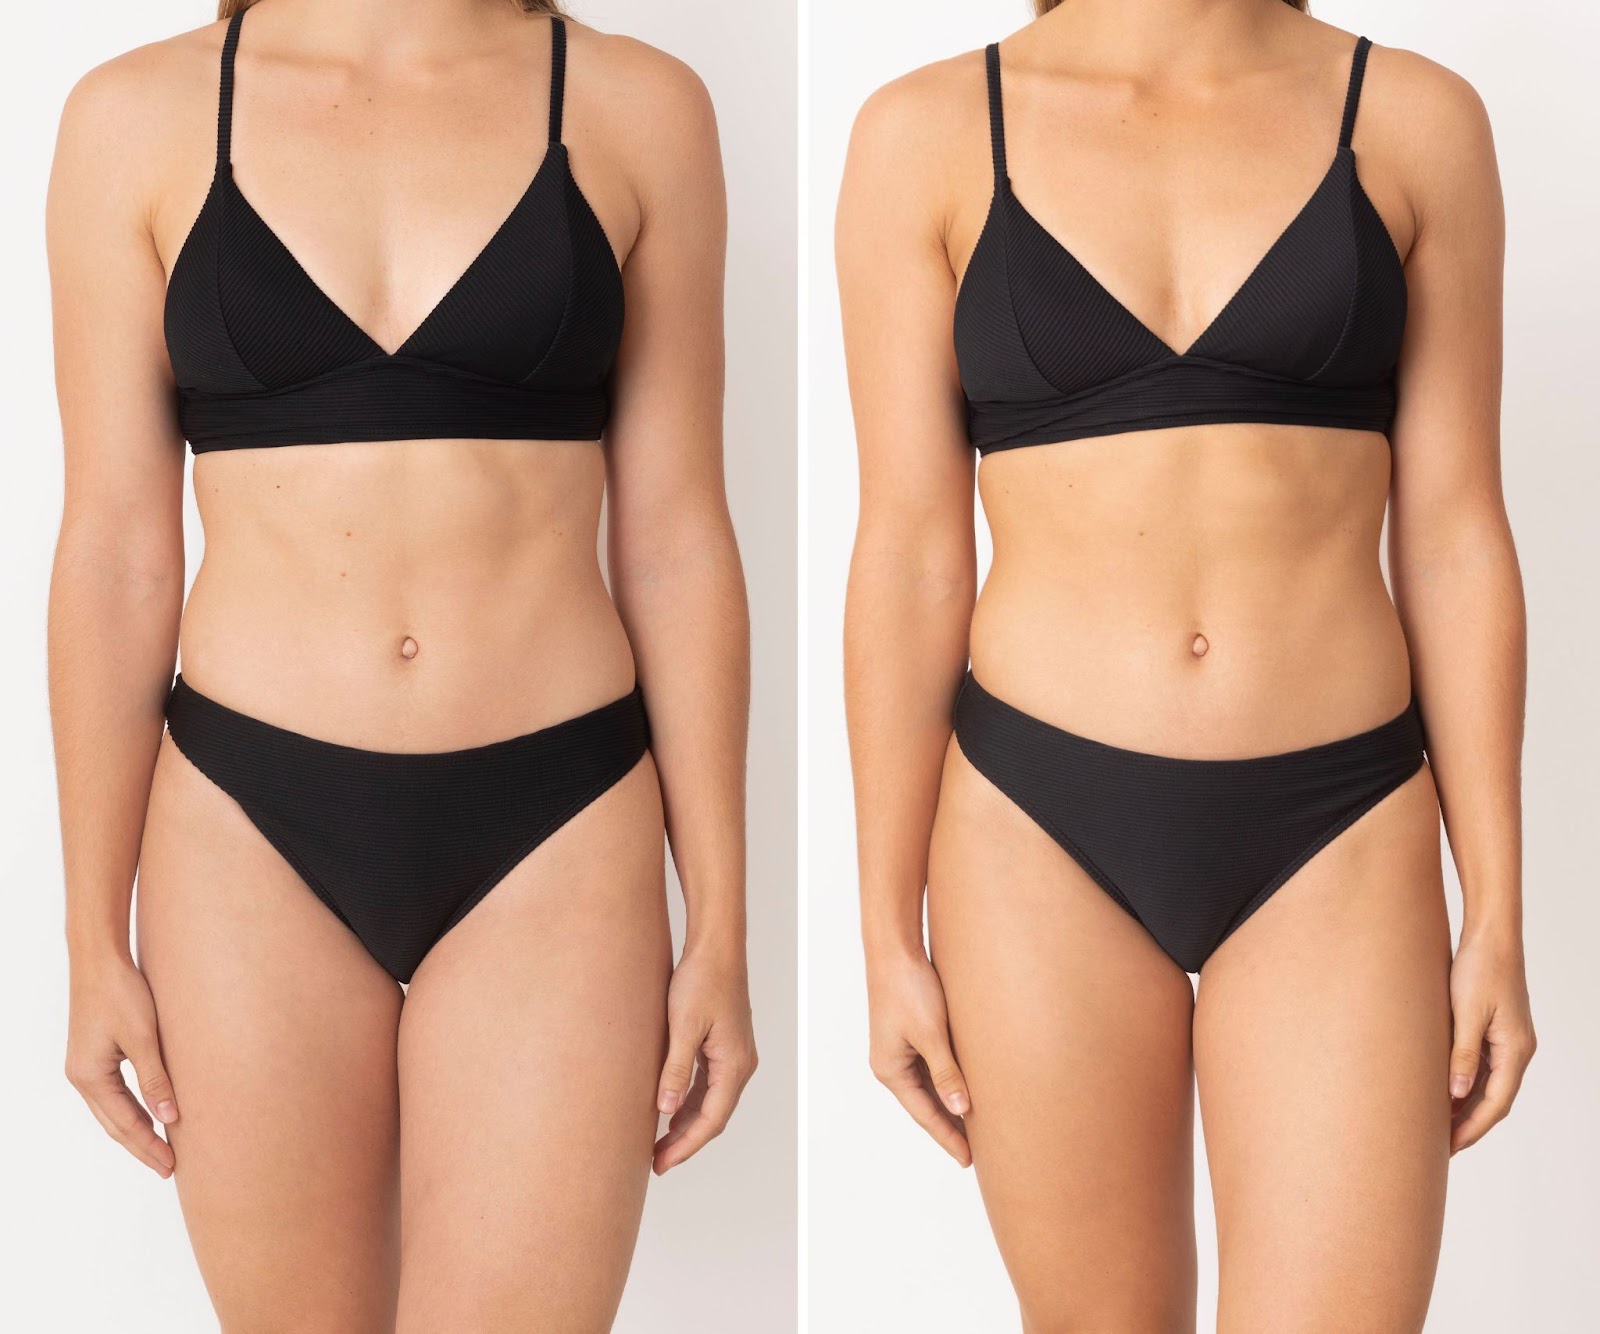
4. Capture The Same Pose
The before-and-after shots should have the same pose and angle for easy comparison. Whether it’s a full-body shot, close-up of legs or stomach, or even the face, make sure the composition remains the same in both images to clearly showcase the tan’s impact.
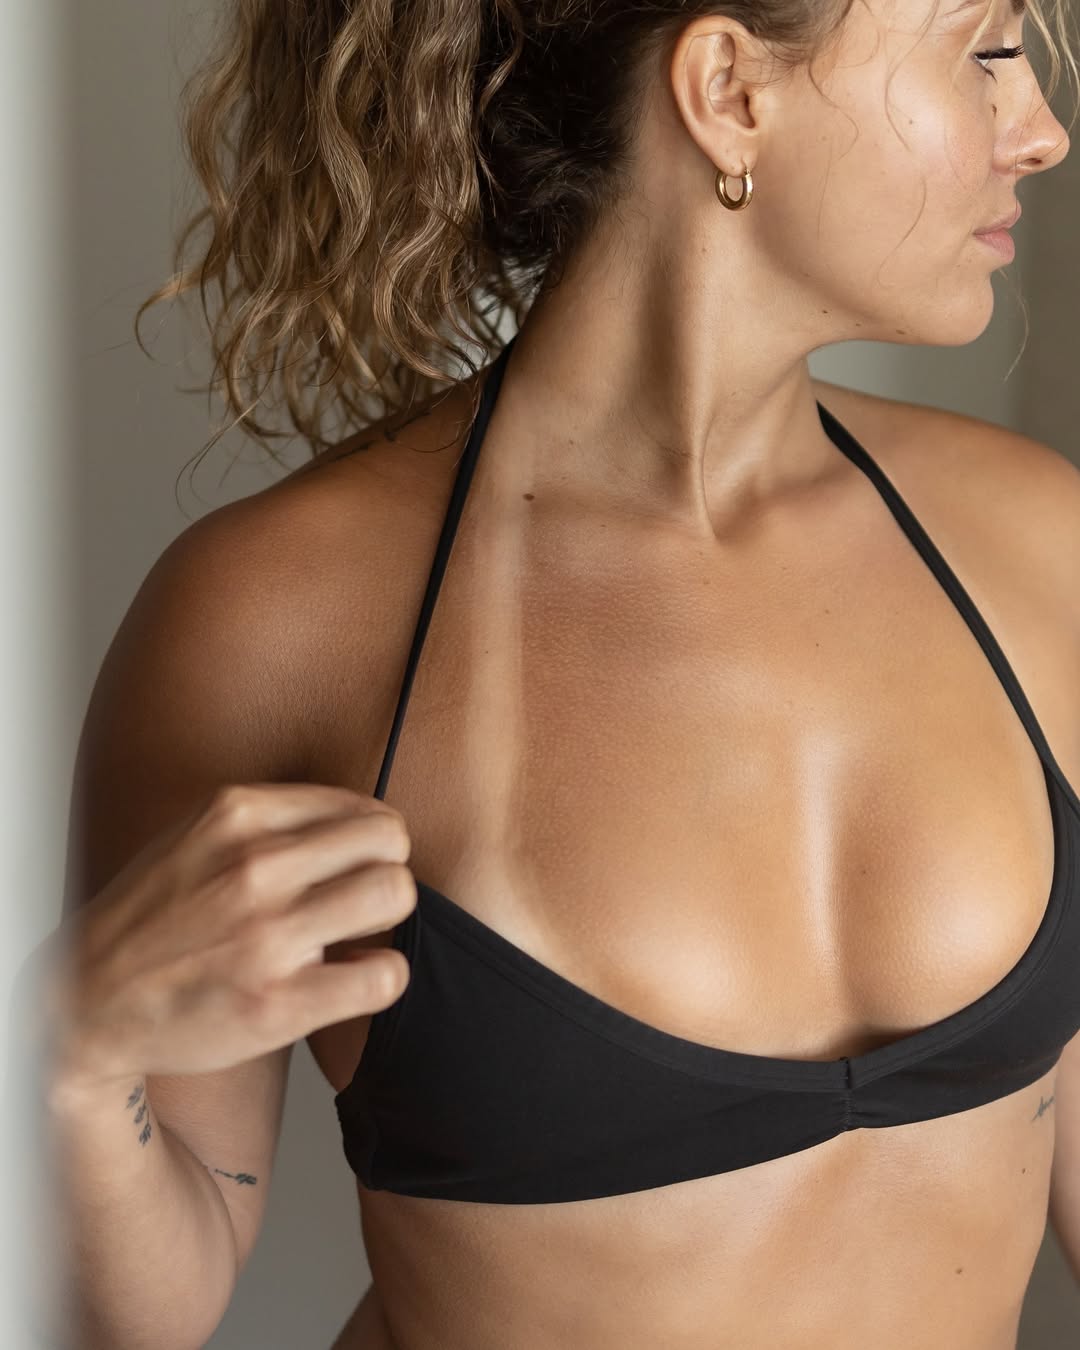
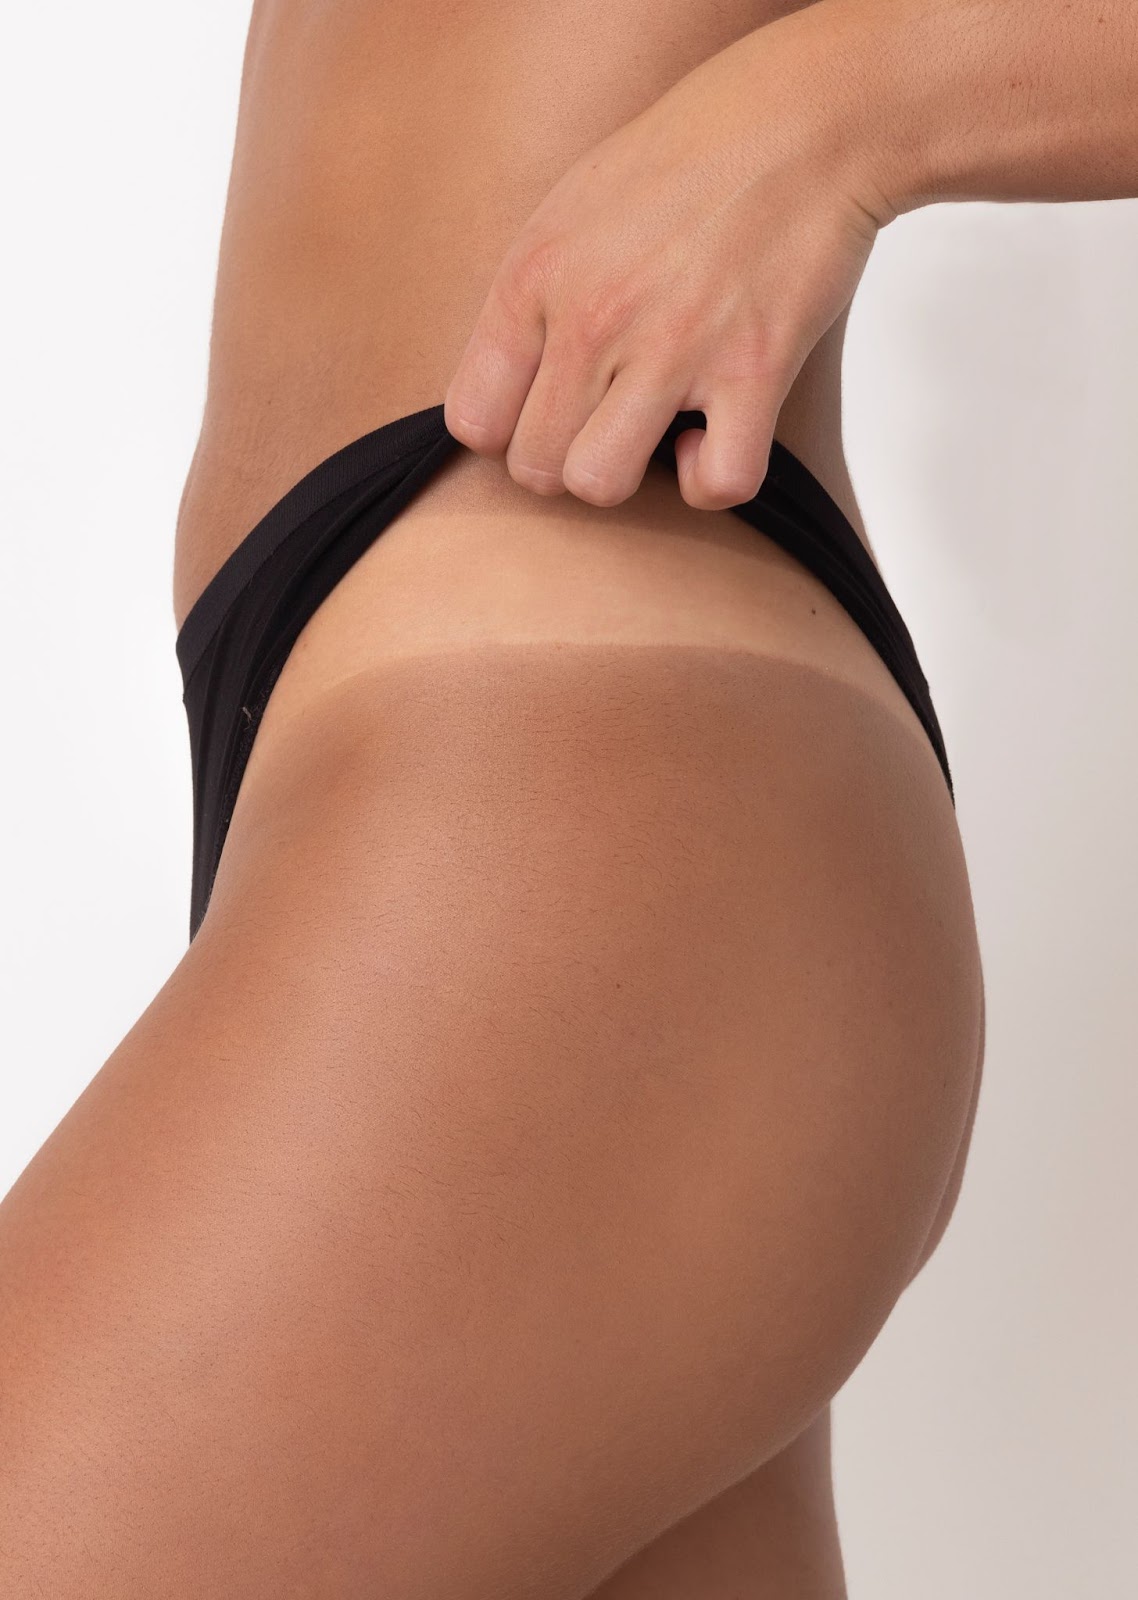
5. Showcase Different Angles
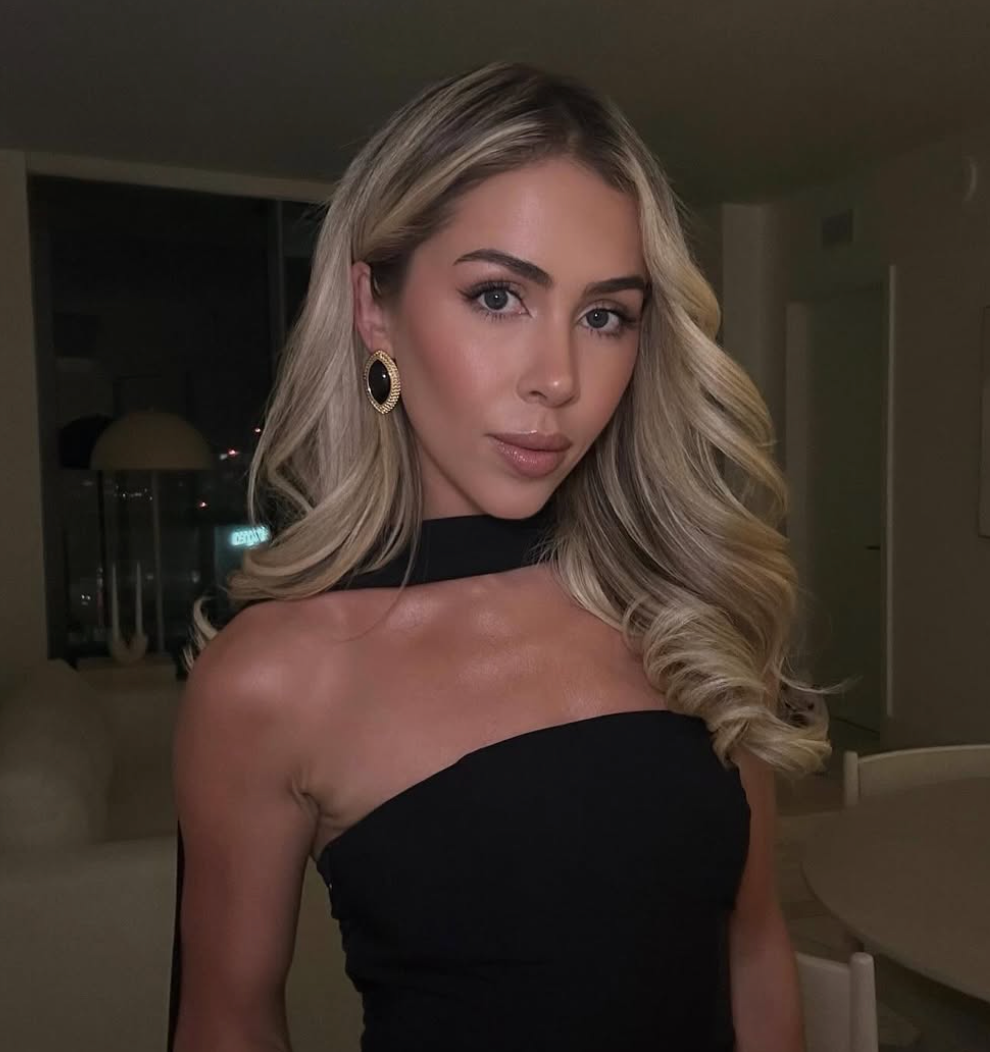
Consider taking different types of photos—full-body, close-ups of specific areas (like the legs or arms), or face shots. This allows potential clients to see how the tan develops across various parts of the body and get a better idea of your artistry. A tan line is a great way to show their natural skin tone against the spray tan.
Highlight Bronzer Bases Vs. Developed Tans
While bronzers can give an instant glow, they’re just the beginning of the tan’s journey. Take and show photos the next day. This is when your tan is fully developed. It will give a better view of the final result. This allows clients to see the true depth and richness of the tan.
For efficiency, consider organizing a content day. Tan your models the day before, take their “before” photos, and have them return the next day to capture the developed tans. This way, you can showcase both bronzer-based and fully developed results, giving potential clients a complete picture of your spray tan solutions.

By following these steps, you'll create high-quality before-and-after photos that not only showcase your work but also build trust with your clients. Perfect photos will capture the richness of your shades and help your business shine online!