Nuda is all about giving that flawless, even spray tan. One of the secret weapons? Barrier cream!
It's crucial for protecting those areas we don't want to darken. When we offer a luxurious experience, we handle the tanning process for our clients. Unlike booth tans, where clients are left to do it themselves. Let's talk about the best ways to apply NUDA Barrier Cream so your clients can have glowing and happy skin.
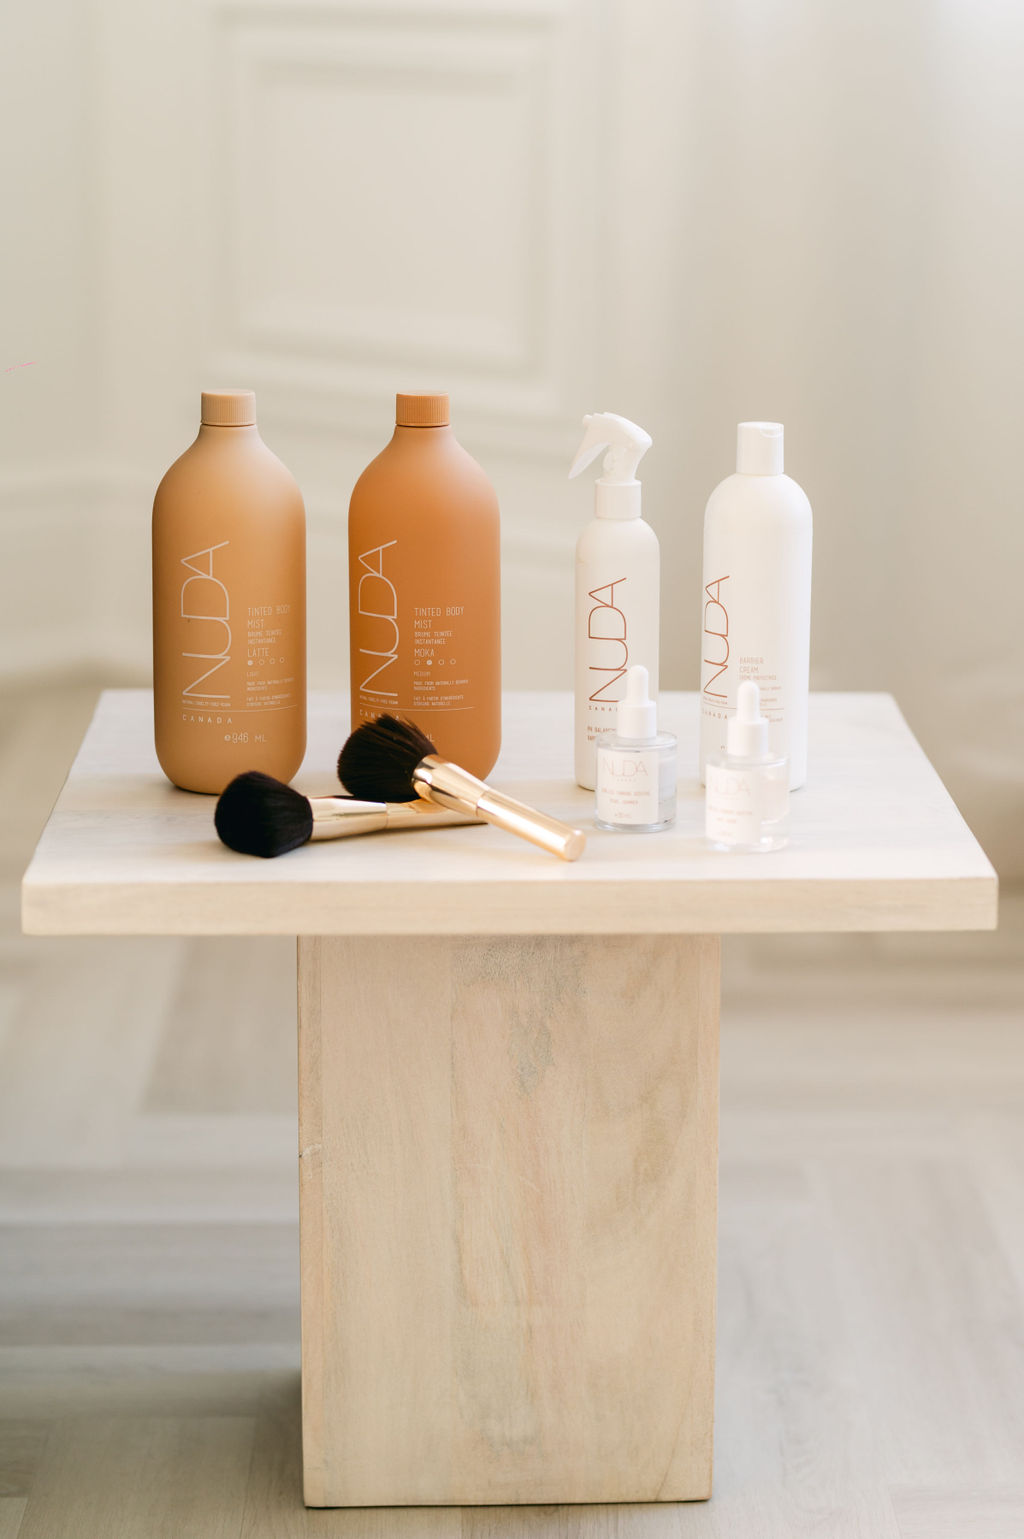
What is a Barrier Cream and Why Use It?
Nuda's Barrier Cream protects skin from absorbing too much tanning solution in specific areas. It creates a barrier that helps the tanning product spread evenly on the skin. This protective layer ensures that the tan looks smooth and natural. It covers all areas of the skin to achieve an even tan.
This cream is not like regular creams. It is made to have a specific texture that doesn't completely stop your tan from developing. Instead, it just limits how much of the tan will go into your skin. Using barrier cream is essential for several reasons:
- Prevents Streaks and Patches: By protecting drier areas like elbows, knees, and ankles, barrier cream helps avoid those telltale dark patches and streaks.
- Protects Delicate Areas: It shields areas like fingernails and toenails from staining, which can be particularly noticeable with lighter nail polish or bare nails.
- Ensures an Even Tan: Barrier cream helps achieve a smooth, even tan by preventing the tanning solution from accumulating in unwanted areas.
- Enhances Client Experience: Offering barrier cream application as part of your service adds a touch of luxury and professionalism, ensuring your clients feel pampered and cared for.
Key Areas to Apply NUDA Barrier Cream
- Fingernails and Toenails: Slather on a thick layer over nails and cuticles. Even if your client has nail polish, lighter shades can still stain. If they’re au naturel, apply extra so the cream is visible.
- Knuckles: These tend to be drier with more skin, making them prone to darkening. Rub a small amount on each knuckle.
- Wrists and Palms: Nothing screams fake tan like dark wrists and palms! These areas don’t usually tan naturally, so apply a small amount over the wrist and into the palms.
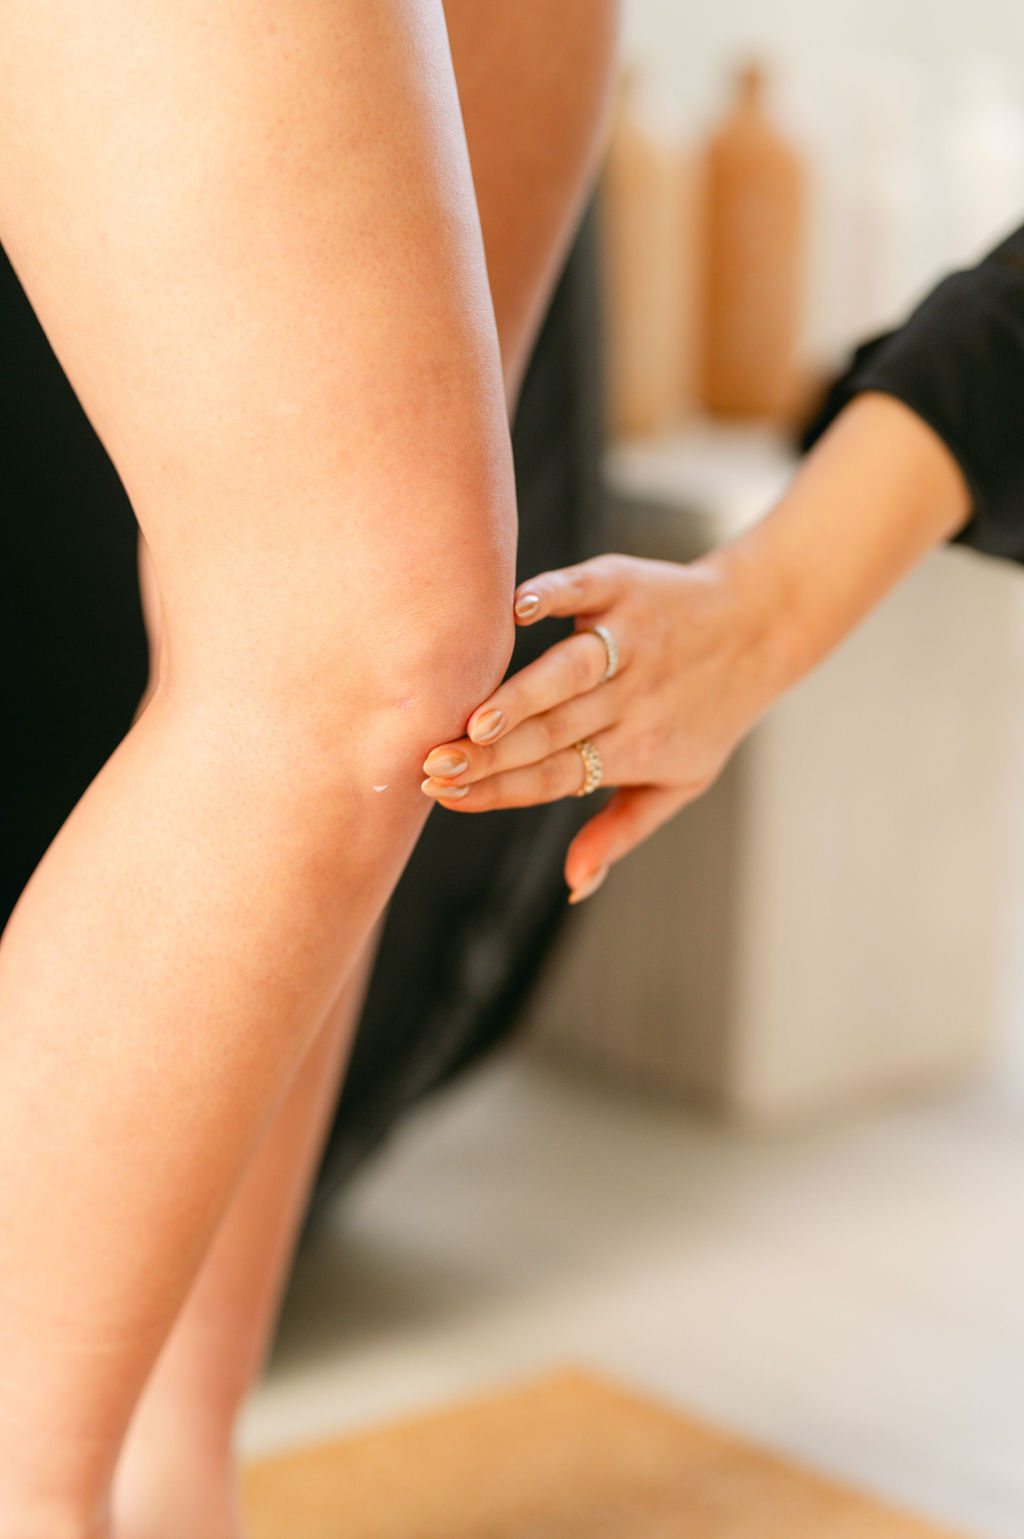
- Elbows and Knees: These joints can be rough and prone to darker spots. Make sure you cover them thoroughly.
- Ankles and Sides of Feet: Feet can be tricky. Applying barrier cream here helps achieve a natural-looking tan.
- Hair Line: To avoid staining, protect the hairline of clients with very light hair not fully covered by a hairnet. Apply some lightly around the forehead and ears.
- Pigmented Areas: Dark sunspots or marks can appear even darker. Use a Q-tip to apply a light amount of cream to these spots.
- Other Dry Areas: Don’t forget any other dry areas prone to eczema, psoriasis, or general dryness. If a client's lower leg or hand is very dry, apply a thin layer of barrier cream to the area.
Steps to Apply NUDA Barrier Cream
- Preparation: Apply the pH spray to your client first. Adjust their clothing and straps before you begin with the barrier cream. Adjusting afterward can smear the cream and cause marks.
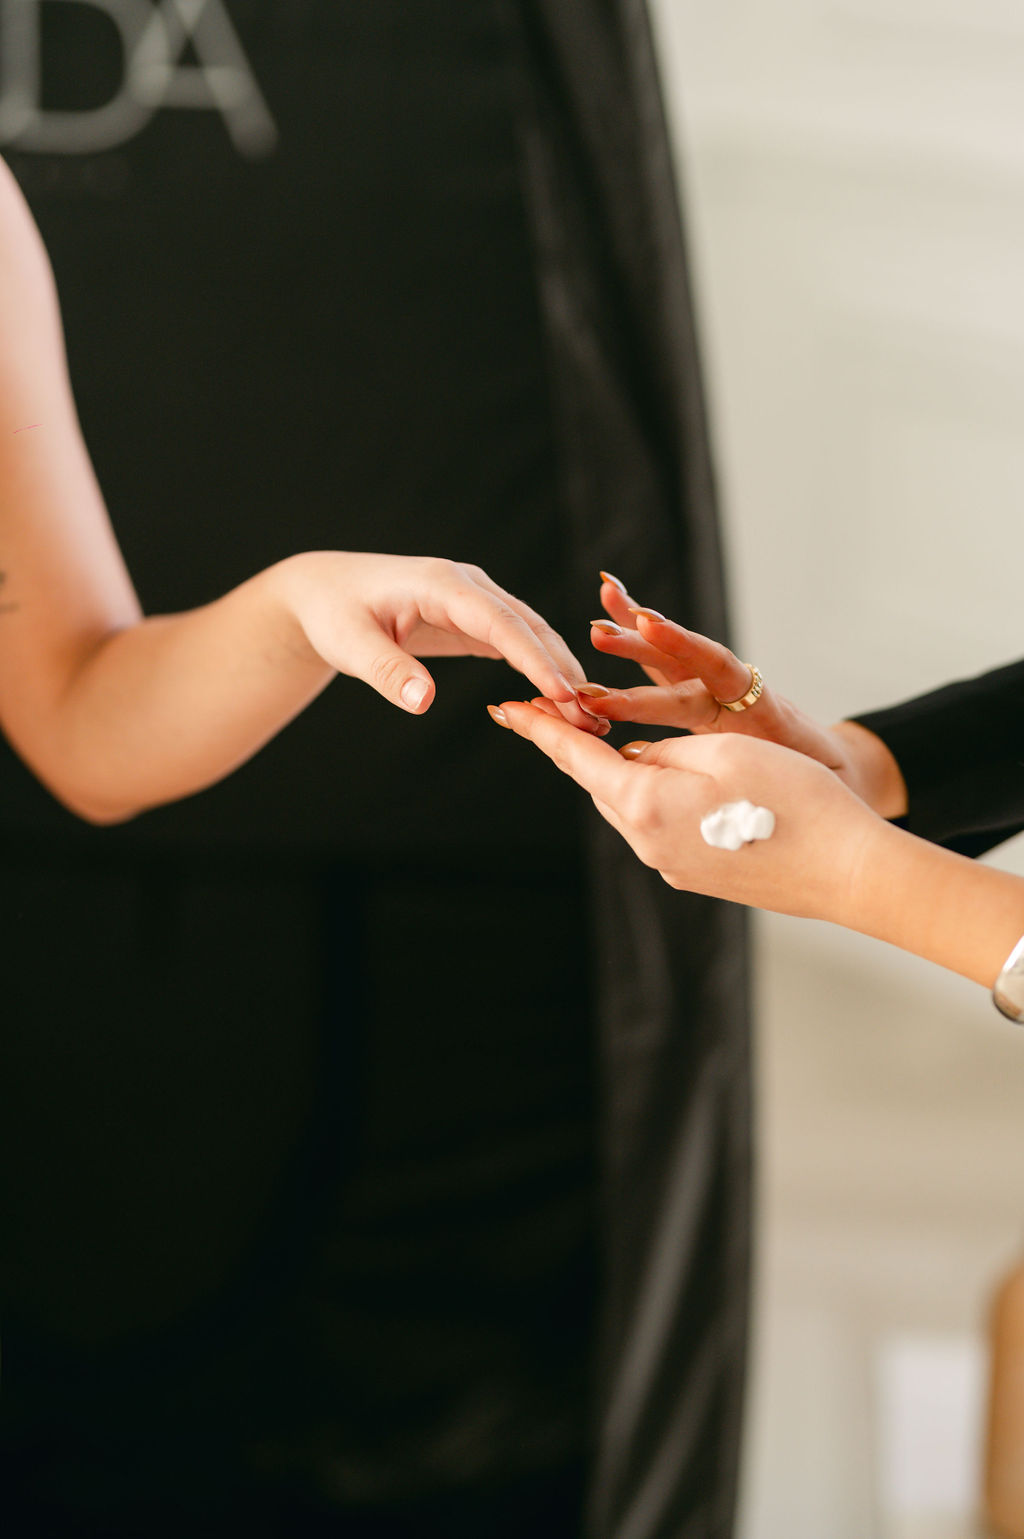
- Application: Apply a light layer of NUDA barrier cream to all the areas mentioned above. Put some cream on the back of your hand, then use your fingers to apply.
- Spread Evenly: Make sure to spread the cream evenly on targeted areas. Use your fingers or a small brush to smooth out the cream, avoiding thick patches.
- Allow to Absorb: Let the cream absorb for a few moments before tanning. This ensures maximum protection and effectiveness.
By following these steps and focusing on the key areas mentioned, you'll help your clients achieve a smooth, even tan. The goal is to create a barrier that prevents the tanning product from sticking too much to dry areas. This will result in a nice, natural glow.